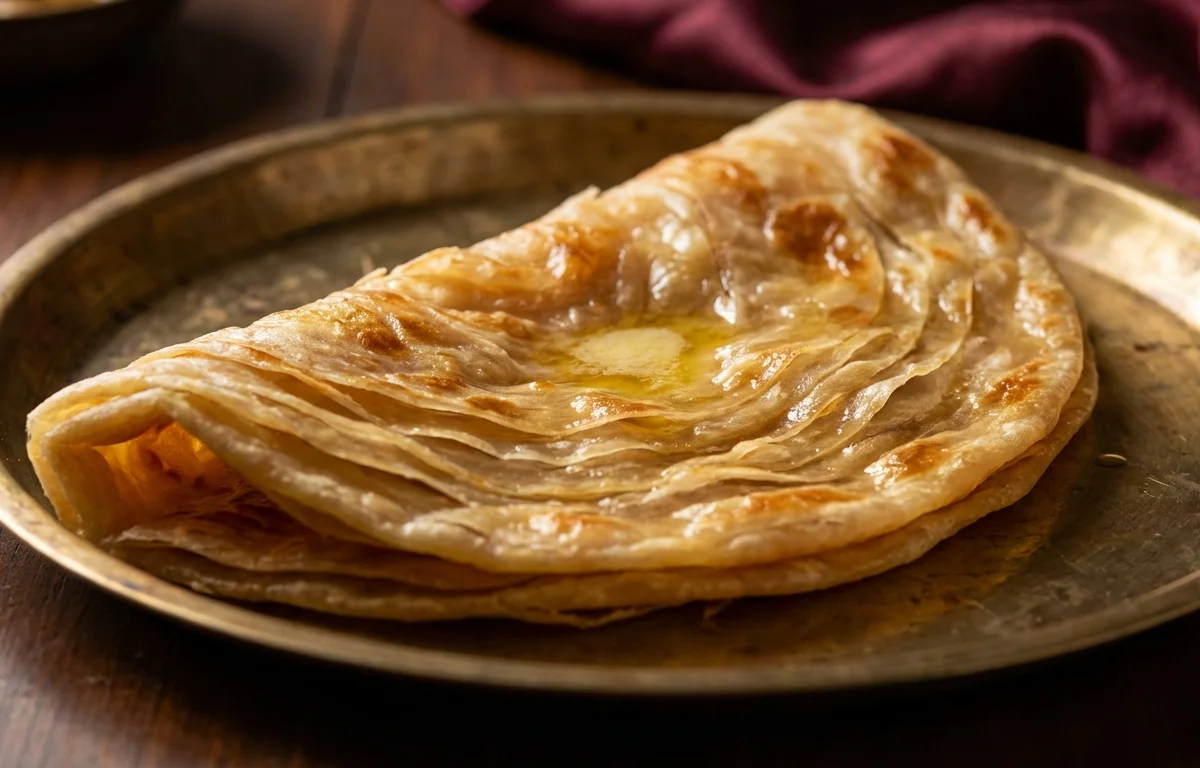
Warqi Paratha
Experience the magic of Mughlai cuisine with this incredibly flaky, multi-layered flatbread. Each bite reveals delicate, paper-thin layers crisped to perfection with ghee. A true showstopper for any meal.
For 4 servings
5 steps. 30 minutes total.
- 1
Step 1
- a.Prepare the Dough
- b.In a large mixing bowl, combine 2 cups of maida and 1 tsp of salt. Mix well.
- c.Add 2 tbsp of melted ghee to the flour and rub it in with your fingertips until the mixture resembles coarse breadcrumbs.
- d.Gradually add lukewarm water, a little at a time, and knead for 8-10 minutes to form a soft, smooth, and pliable dough. It should be soft but not sticky.
- e.Cover the dough with a damp cloth or plastic wrap and let it rest for at least 30 minutes. This step is crucial for relaxing the gluten.
- 2
Step 2
- a.Create the Layering Paste (Satha)
- b.While the dough rests, prepare the layering paste. In a small bowl, whisk together 1/2 cup of melted ghee and 2 tbsp of maida until you get a smooth, lump-free paste. This paste is key to creating the distinct layers.
- 3
Step 3
- a.Layer and Coil the Dough
- b.After resting, divide the dough into 8 equal portions and roll them into smooth balls.
- c.Take one dough ball and dust it lightly with dry maida. Roll it out as thinly as possible into a large, translucent circle, about 9-10 inches in diameter.
- d.Spread about 1-2 tsp of the prepared ghee-flour paste evenly over the entire surface of the rolled dough.
- e.Starting from one edge, carefully fold the dough back and forth like a paper fan to create fine pleats. You will end up with a long, pleated strip.
- f.Gently hold both ends of the pleated strip and stretch it slightly to elongate it.
- g.Begin coiling the strip from one end, tucking it under as you go, to form a tight spiral or pinwheel. Press the loose end gently into the center of the coil.
- h.Repeat this process for all the dough balls. Cover the prepared coils and let them rest for another 10-15 minutes.
- 4
Step 4
- a.Roll and Cook the Parathas
- b.Heat a tawa or a flat, heavy-bottomed skillet over medium heat.
- c.Take one rested coil and place it on a lightly floured surface. Gently flatten it with your palm.
- d.With a light hand, roll it out into a circle about 5-6 inches in diameter. Do not press too hard, as this can merge the layers.
- e.Place the paratha on the hot tawa. Cook for 30-45 seconds, or until small bubbles appear on the surface.
- f.Flip the paratha and drizzle about 1 tsp of the remaining melted ghee around the edges and on top. Cook for another minute.
- g.Flip again, drizzle another tsp of ghee, and cook while pressing gently with a spatula until both sides are golden brown, crisp, and the layers are visible.
- h.Repeat for all the remaining coils, adding ghee for each paratha.
- 5
Step 5
- a.Serve
- b.Remove the cooked paratha from the tawa. While it's still hot, gently crush it between your palms (you can use a kitchen towel to protect your hands) to fluff it up and separate the layers.
- c.Serve immediately with rich curries like Chicken Korma, Paneer Butter Masala, or with kebabs.
What to keep in mind.
6 tips from the recipe — small details that make a real difference to the final dish.
- 1Resting the dough is non-negotiable. It relaxes the gluten, making the dough easier to roll thinly and resulting in softer parathas.
- 2Roll the dough as thinly as you possibly can in the layering step. The thinner the sheet, the more delicate the final layers will be.
- 3Be generous with the ghee-flour paste (satha). It acts as a barrier between the dough layers, which is what makes them separate and become flaky during cooking.
- 4Cook on a consistent medium heat. If the heat is too high, the outside will burn before the inner layers cook through. Too low, and the paratha will become hard.
- 5Use a light hand when rolling the final coiled dough. Pressing too hard will cause the carefully created layers to stick together.
- 6For best results, serve the parathas hot, straight from the tawa, to enjoy their signature crispy texture.
Adapt it for your goals.
Healthier Version
Replace half of the maida with whole wheat flour (atta) for a more fibrous paratha. The texture will be slightly denser but still delicious.
Flavored ParathaFlavored Paratha
Sprinkle finely chopped mint leaves, carom seeds (ajwain), or nigella seeds (kalonji) over the ghee paste before folding to add an aromatic twist.
Sweet VersionSweet Version
For a dessert paratha, sprinkle a mixture of powdered sugar and ground cardamom over the ghee paste instead of just flour. Serve drizzled with honey or condensed milk.
Why this is on our healthy list.
Source of Energy
The carbohydrates from the all-purpose flour provide a quick and significant source of energy to fuel your body and daily activities.
Rich in Healthy Fats
When made with high-quality, pure ghee, this paratha provides butyric acid and fat-soluble vitamins like A, E, and D, which are beneficial for gut health and immunity.
Frequently asked questions
One Warqi Paratha contains approximately 350-400 calories, primarily from the refined flour and the generous amount of ghee used for layering and cooking.