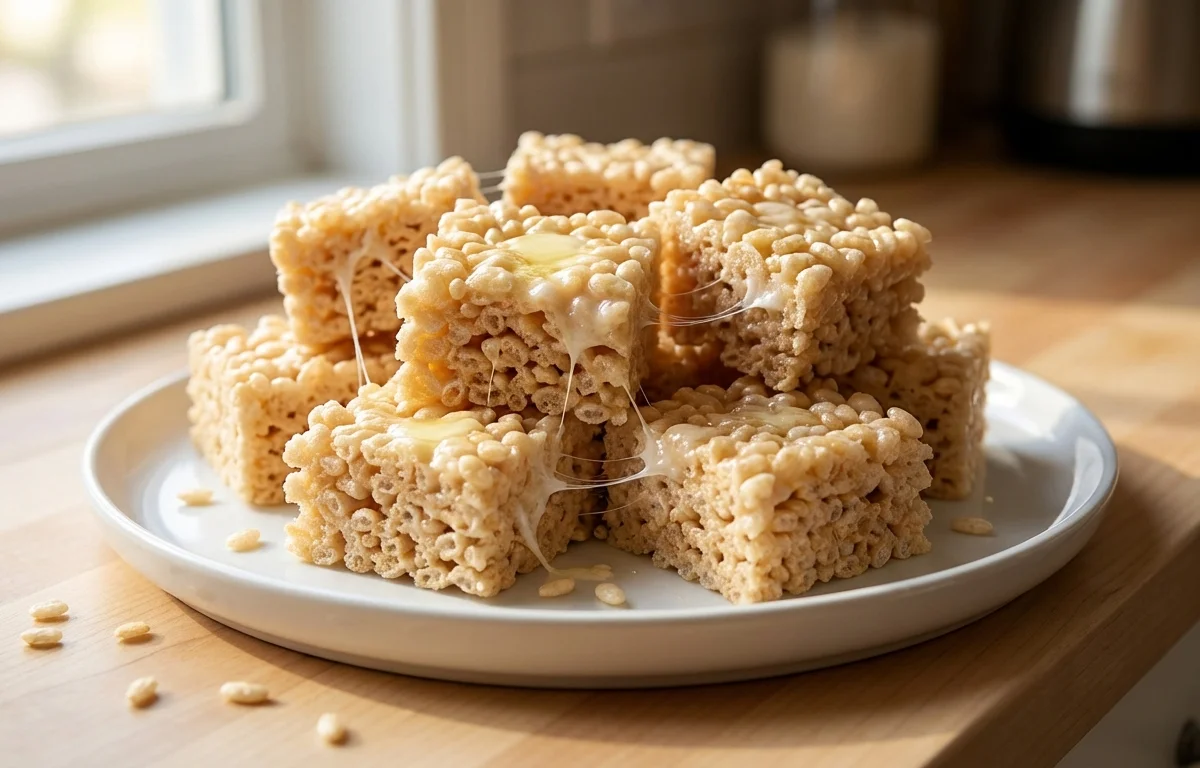
Rice Krispie Treats
A timeless American classic, these no-bake Rice Krispie Treats are the ultimate gooey, chewy, and crispy dessert. Made with just five simple ingredients, this recipe is incredibly easy and perfect for satisfying your sweet tooth in minutes.
For 12 servings
7 steps. 10 minutes total.
- 1
Prepare the Pan: Grease a 9x13 inch baking pan with butter or non-stick spray
- a.For easy removal, line the pan with parchment paper, leaving a 2-inch overhang on two opposite sides to act as handles. Set aside.
- 2
Step 2
- a.Melt Butter and Marshmallows: In a large pot or Dutch oven, melt the unsalted butter over low heat. Once melted, add the mini marshmallows. Stir constantly with a greased spatula until the marshmallows are about 80% melted, about 5-7 minutes.
- 3
Remove from Heat and Add Flavor: Immediately remove the pot from the heat
- a.The residual heat will melt the remaining marshmallow pieces. This prevents overheating and keeps the treats soft. Stir in the vanilla extract and salt until the mixture is smooth and combined.
- 4
Step 4
- a.Combine with Cereal: Pour the puffed rice cereal into the pot with the marshmallow mixture. Gently fold with your greased spatula until the cereal is just evenly coated. Work quickly but be careful not to crush the cereal.
- 5
Press into Pan: Transfer the mixture to your prepared pan
- a.Use the back of the greased spatula or a piece of wax paper to gently press the mixture into an even layer. Do not pack it down too firmly, as this will result in hard, dense treats.
- 6
Step 6
- a.Cool and Set: Let the treats cool completely at room temperature for at least 30-60 minutes until they are firm and set.
- 7
Step 7
- a.Cut and Serve: Once set, use the parchment paper overhangs to lift the entire block out of the pan. Place on a cutting board and use a large, sharp knife (greased with a little butter for clean cuts) to slice into 12 squares. Serve immediately or store for later.
What to keep in mind.
5 tips from the recipe — small details that make a real difference to the final dish.
- 1Use fresh marshmallows for the best gooey texture. Stale marshmallows don't melt as well and can result in a dry treat.
- 2Melt the butter and marshmallows over low heat. High heat can caramelize the sugar, making the treats hard and brittle.
- 3Don't press the mixture too firmly into the pan. A light touch ensures a chewy, airy texture, not a hard, dense one.
- 4For easy cleanup, grease your pot, spatula, and measuring cups with butter or non-stick spray before you begin.
- 5To get clean, professional-looking cuts, use a large, sharp knife lightly greased with butter or cooking spray.
Adapt it for your goals.
Brown Butter
Before adding the marshmallows, melt the butter over medium heat, swirling occasionally, until it foams and develops nutty-smelling brown specks. This adds a rich, toffee-like flavor.
Chocolate Lover'sChocolate Lover's
Stir in 1/2 cup of mini chocolate chips after removing the mixture from the heat, or drizzle melted chocolate over the top of the cooled treats.
Peanut ButterPeanut Butter
Melt 1/2 cup of creamy peanut butter along with the butter and marshmallows for a delicious nutty twist.
Festive FunFestive Fun
Gently fold in 1/3 cup of colorful sprinkles along with the cereal for a festive look perfect for parties and holidays.
Why this is on our healthy list.
Quick Energy Source
The simple carbohydrates from the cereal and marshmallows provide a rapid energy boost, making it a suitable treat for a quick pick-me-up.
No-Bake Simplicity
As a no-bake dessert, it's incredibly simple to make without needing an oven, making it a perfect activity for kids and beginner cooks.
Nostalgic Comfort Food
Enjoying a familiar, beloved treat from childhood can be a comforting experience, helping to boost mood and reduce stress.
Frequently asked questions
This usually happens for two reasons: overheating the marshmallows or pressing the mixture too firmly into the pan. Melt the marshmallows on low heat just until smooth, and press the cereal mixture gently into the pan.