
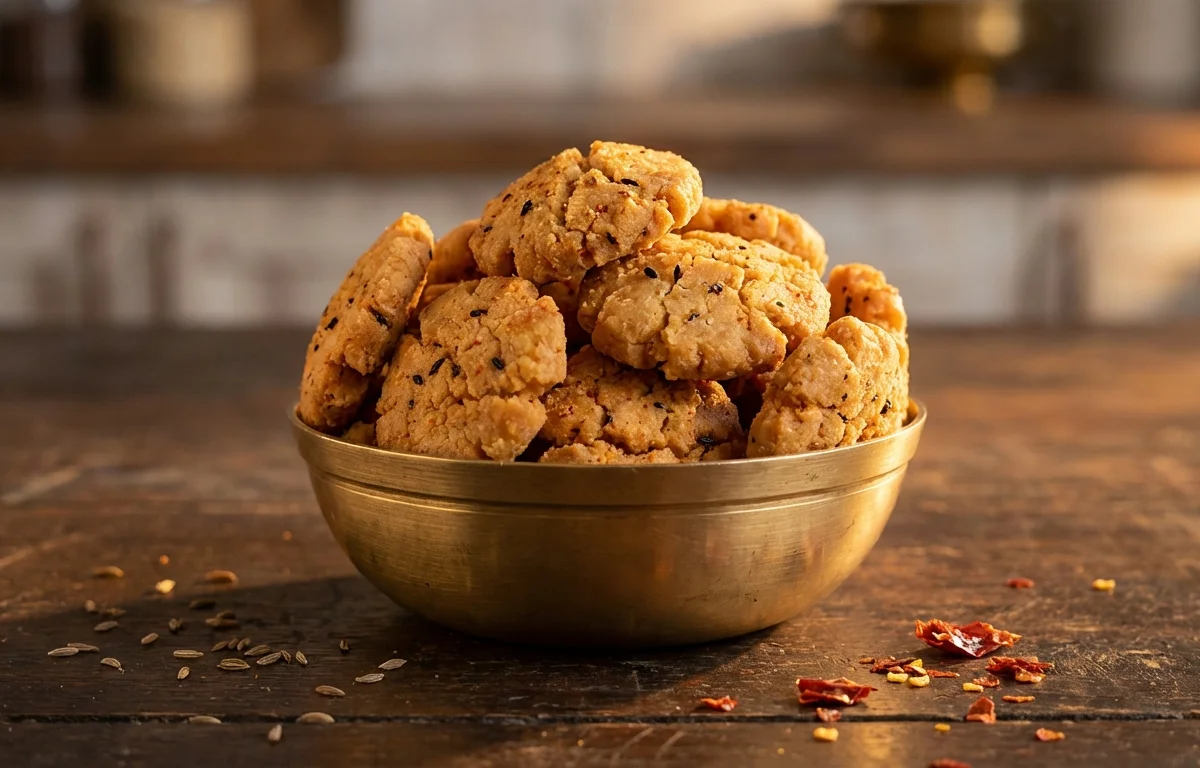
Seepu Seedai
A crispy, savory snack from Chettinad cuisine, made with rice flour and coconut milk. These bite-sized, ridged delights are deep-fried to golden perfection, making them an irresistible tea-time treat or festival specialty.
For 6 servings
Prepare the Flour Mixture
- In a large mixing bowl, sift together the rice flour and urad dal flour. This aerates the flour and prevents lumps.
- Add the cumin seeds, asafoetida, and salt to the sifted flours.
- Whisk everything together to ensure the spices are evenly distributed.
Make the Dough
- Add the softened unsalted butter to the flour mixture. Use your fingertips to rub the butter into the flour until it resembles coarse breadcrumbs.
- Gradually pour in the thick coconut milk, a little at a time, while kneading.
- Continue to add milk and knead until you form a smooth, pliable, and non-sticky dough. The final dough should be soft but firm, without any cracks.
Shape the Seedai
- Grease the inside of a seepu seedai press or a murukku press fitted with a star-shaped plate.
- Take a portion of the dough and fill the press, ensuring there are no air pockets.
- Press the dough out onto a clean, greased surface (like a banana leaf or parchment paper) into long, ridged strands.
- Use a knife or your fingers to cut these strands into uniform 1-inch pieces.
Deep Fry the Seedai
- Heat the oil in a kadai or deep pan over medium heat. To test if the oil is ready, drop a tiny piece of dough into it; it should sizzle and rise to the top steadily.
- Carefully slide a batch of the cut seedai pieces into the hot oil, being careful not to overcrowd the pan.
- Fry for about 4-6 minutes, stirring gently from time to time for even browning.
- The seedai are done when they turn a light golden brown and the vigorous bubbling of the oil subsides.
Drain and Store
- Using a slotted spoon, remove the fried seedai from the oil and transfer them to a plate lined with paper towels to drain any excess oil.
- Let them cool completely to room temperature. They will become much crispier as they cool.
- Once fully cooled, store in an airtight container. They will stay fresh for up to two weeks.
What to keep in mind.
5 tips from the recipe — small details that make a real difference to the final dish.
- 1For the best texture, use store-bought idiyappam flour or lightly roast raw rice flour until aromatic before using.
- 2The dough consistency is crucial. If it's too stiff, the seedai will break. If too soft, they will absorb excess oil. It should be smooth and crack-free.
- 3Maintain a steady medium flame throughout the frying process. If the oil is too hot, they will brown quickly but remain raw inside. If it's not hot enough, they will become oily.
- 4Do not overcrowd the pan. Frying in smaller batches helps maintain the oil temperature and ensures each seedai cooks perfectly.
- 5Ensure the seedai are 100% cool before storing. Any residual warmth will create condensation in the container, making them soft.
Adapt it for your goals.
Spicy Version
Add 1/2 teaspoon of red chili powder or finely crushed black pepper to the dough for a spicy kick.
Sesame SeedaiSesame Seedai
Incorporate 1 tablespoon of white or black sesame seeds into the dough for a nutty flavor and extra crunch.
Garlic FlavorGarlic Flavor
Add 1/2 teaspoon of garlic powder to the dry ingredients for a subtle garlic aroma.
Herb InfusionHerb Infusion
Mix in 1 tablespoon of finely chopped curry leaves into the dough for a fresh, herby taste.
Why this is on our healthy list.
Source of Energy
Made from rice flour, this snack is a good source of carbohydrates, providing a quick boost of energy.
Naturally Gluten-Free
This recipe uses rice flour and urad dal flour, both of which are naturally free from gluten, making it a suitable snack for those with gluten intolerance.
Plant-Based Snack
This recipe is entirely plant-based, making it suitable for vegetarian and vegan diets.
Frequently asked questions
A serving of about 0.75 cup (70g) contains approximately 280-320 calories, primarily from carbohydrates and fats from the deep-frying process.