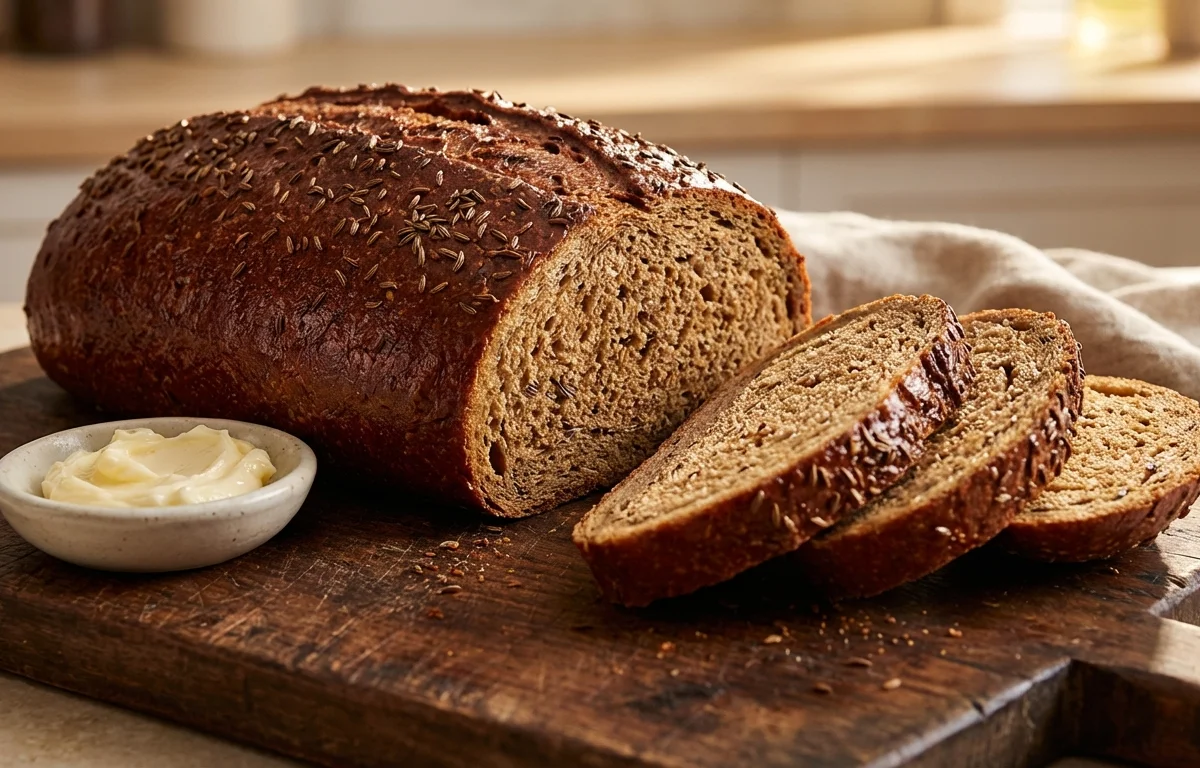
Rye Bread
A classic Jewish deli-style rye bread with a chewy crust, soft crumb, and the unmistakable aroma of caraway seeds. Perfect for sandwiches or toasted with butter. This homemade loaf brings authentic deli flavor right to your kitchen.
For 12 servings
8 steps. 35 minutes total.
- 1
Step 1
- a.Activate the Yeast (5-10 minutes)
- b.In the bowl of a stand mixer or a large mixing bowl, combine the warm water, molasses, and active dry yeast.
- c.Stir gently to dissolve and let the mixture stand for 5-10 minutes. It's ready when it becomes foamy and smells fragrant, indicating the yeast is active.
- 2
Step 2
- a.Mix the Dough (5 minutes)
- b.Add the rye flour, bread flour, caraway seeds, salt, and vegetable oil to the yeast mixture.
- c.Using a dough hook on low speed, mix until a shaggy, sticky dough forms. If mixing by hand, use a sturdy wooden spoon or spatula to bring the ingredients together.
- 3
Step 3
- a.Knead the Dough (8-10 minutes)
- b.Increase the mixer speed to medium-low and knead for 6-8 minutes. The dough will become smoother and more elastic but will remain tacky.
- c.If kneading by hand, turn the dough onto a lightly floured surface. Knead for 8-10 minutes. Use a bench scraper to help manage the sticky dough, and avoid adding too much extra flour.
- 4
Step 4
- a.First Rise (60-90 minutes)
- b.Form the dough into a ball. Lightly oil a clean large bowl and place the dough inside, turning it over to coat the top with oil.
- c.Cover the bowl with plastic wrap or a damp kitchen towel.
- d.Let the dough rise in a warm, draft-free spot for 60 to 90 minutes, or until it has doubled in volume.
- 5
Step 5
- a.Shape and Second Rise (45-60 minutes)
- b.Gently deflate the risen dough and turn it out onto a lightly floured surface.
- c.Shape the dough into a round (boule) or oval (bâtard) loaf. Ensure the surface is taut by tucking the edges underneath.
- d.Place the shaped loaf on a baking sheet lined with parchment paper and dusted with cornmeal.
- e.Loosely cover with greased plastic wrap and let it rise for another 45 to 60 minutes, until it's visibly puffy and doesn't spring back immediately when poked.
- 6
Step 6
- a.Preheat Oven and Prepare for Baking (15 minutes)
- b.About 20 minutes before baking, arrange a rack in the center of the oven and preheat to 375°F (190°C).
- c.For a crispier crust, place a metal pan on the bottom rack to heat up with the oven.
- d.Just before baking, use a sharp knife or a bread lame to make two or three 1/2-inch deep slashes across the top of the loaf. This allows steam to escape and the bread to expand evenly.
- 7
Step 7
- a.Bake the Bread (30-35 minutes)
- b.Carefully pour 1 cup of hot water into the preheated metal pan on the bottom rack to create steam. Immediately place the bread on the center rack.
- c.Bake for 30-35 minutes, until the crust is a deep golden-brown and the loaf sounds hollow when tapped on the bottom.
- d.For a precise check, the internal temperature should register 190-200°F (88-93°C) on an instant-read thermometer.
- 8
Step 8
- a.Cool Completely (2 hours)
- b.Transfer the hot loaf from the baking sheet to a wire rack to cool.
- c.Allow the bread to cool completely, for at least 2 hours, before slicing. This is crucial as the internal structure needs to set; slicing while warm can result in a gummy texture.
What to keep in mind.
4 tips from the recipe — small details that make a real difference to the final dish.
- 1Rye dough is notoriously sticky due to its lower gluten content. Resist adding too much extra flour while kneading, which can make the bread dense. A bench scraper is your best friend here.
- 2For a deeper, more complex sour flavor, perform the first rise in the refrigerator overnight (8-12 hours). Let the dough sit at room temperature for an hour before shaping.
- 3The steam created in the oven helps the bread achieve a great 'oven spring' (initial rise) and develops a wonderfully crisp and chewy crust.
- 4Store the cooled bread in a paper bag or a bread box at room temperature for up to 3 days. Avoid plastic bags, as they trap moisture and soften the crust.
Adapt it for your goals.
Darker Rye
For a darker color and more robust flavor, substitute the molasses with blackstrap molasses and use dark rye flour instead of medium or light.
Seedless RyeSeedless Rye
If you're not a fan of caraway, simply omit the seeds for a plain rye bread that's still delicious.
Onion RyeOnion Rye
Incorporate 1/4 cup of dried minced onion into the dough along with the flours for a savory onion-rye variation.
Sourdough RyeSourdough Rye
For an authentic tangy flavor, replace the active dry yeast with 1 cup (about 227g) of active rye sourdough starter. You may need to adjust the flour and water quantities slightly.
Why this is on our healthy list.
Supports Digestive Health
Rye flour is an excellent source of dietary fiber, which promotes regular bowel movements, helps prevent constipation, and feeds beneficial gut bacteria.
Aids in Blood Sugar Management
Compared to breads made with refined wheat, rye bread has a lower glycemic index, meaning it causes a slower, more gradual rise in blood sugar levels, making it a good choice for sustained energy.
Rich in Micronutrients
Rye is a good source of essential minerals like manganese, which is crucial for bone health and metabolism, as well as selenium, phosphorus, and magnesium.
Frequently asked questions
Each slice of this homemade rye bread contains approximately 180 calories, depending on the exact size of the slice.