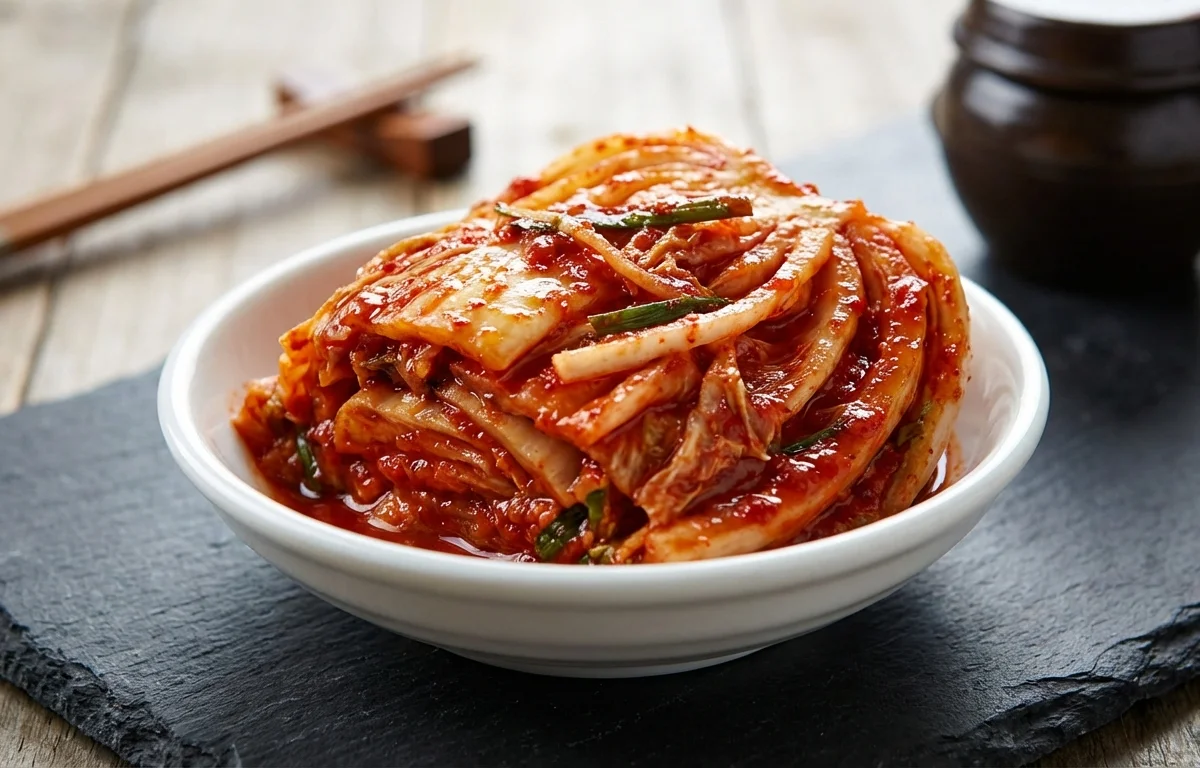
Napa Cabbage Kimchi
A classic Korean staple featuring crisp napa cabbage fermented in a fiery, umami-rich paste of gochugaru, fish sauce, and garlic. Perfect for adding a spicy, tangy kick to any meal, from rice bowls to stews.
For 32 servings
5 steps. 5 minutes total.
- 1
Step 1
- a.Salt and Wilt the Cabbage (1.5 - 2 hours)
- b.Cut the napa cabbage lengthwise into quarters and remove the tough core at the base.
- c.Cut the quarters crosswise into 2-inch wide pieces.
- d.In a very large bowl, toss the cabbage pieces with the coarse sea salt, ensuring salt gets between all the layers. Add enough cold water to just cover the cabbage and stir to dissolve the salt.
- e.Let the cabbage brine for 1.5 to 2 hours, turning it over in the bowl every 30 minutes to ensure even salting.
- f.After 2 hours, the cabbage should be wilted and flexible (a piece should bend easily without snapping).
- g.Rinse the cabbage thoroughly under cold running water 3-4 times to remove all excess salt. Drain well in a colander for at least 30 minutes, gently squeezing to remove excess water.
- 2
Step 2
- a.Prepare the Sweet Rice Porridge (5 minutes)
- b.In a small saucepan, whisk together the sweet rice flour and 1 cup of water until no lumps remain.
- c.Bring to a simmer over medium heat, stirring constantly. Cook for 3-4 minutes until it thickens into a smooth, glue-like paste.
- d.Stir in the sugar and cook for 1 more minute until it's fully dissolved.
- e.Remove from the heat and set aside to cool completely. This is crucial; hot porridge can kill the beneficial bacteria needed for fermentation.
- 3
Step 3
- a.Mix the Kimchi Paste (5 minutes)
- b.In a large mixing bowl (large enough to hold all the cabbage), combine the completely cooled rice porridge, gochugaru, fish sauce, saeujeot (salted shrimp), minced garlic, minced ginger, and grated Korean pear.
- c.Stir everything together until it forms a uniform, thick, and fragrant red paste.
- 4
Step 4
- a.Combine Paste with Vegetables (10 minutes)
- b.Add the julienned Korean radish and chopped scallions to the kimchi paste and mix well.
- c.Add the drained and rinsed cabbage to the bowl.
- d.Wearing kitchen gloves, gently but thoroughly massage the paste onto every piece of cabbage, ensuring everything is evenly coated.
- 5
Step 5
- a.Pack and Ferment (1-3 days at room temp)
- b.Tightly pack the coated cabbage into a large glass jar, fermentation crock, or other non-reactive container. Press down firmly as you go to remove air pockets and encourage brine to rise.
- c.Leave at least 2 inches of headspace at the top of the jar to allow for expansion and bubbling during fermentation.
- d.Wipe the rim of the jar clean and seal it. If using a standard lid, do not tighten it all the way to allow gas to escape.
- e.Let the jar sit at a cool room temperature, away from direct sunlight, for 1 to 3 days.
- f.Check it daily. You should see bubbles forming. Open the jar once a day ('burp' it) to release built-up gases and press the kimchi down with a clean spoon to keep it submerged in brine.
- g.After 1-3 days, taste the kimchi. Once it has reached your desired level of sourness, transfer it to the refrigerator. Refrigeration will slow the fermentation process significantly.
- h.The kimchi is ready to eat immediately but its flavor will continue to develop and deepen over the next 1-2 weeks.
What to keep in mind.
6 tips from the recipe — small details that make a real difference to the final dish.
- 1Always wear kitchen gloves when handling the kimchi paste. Gochugaru can stain your hands and irritate your skin.
- 2Use coarse sea salt specifically for kimchi or pickling. Iodized table salt contains additives that can inhibit fermentation.
- 3The sweet rice porridge is a key step. It acts as a binder for the paste and provides food for the lactic acid bacteria that drive fermentation.
- 4Taste the cabbage after rinsing to ensure it's not overly salty. It should be pleasantly seasoned, not briny. If it's too salty, rinse it again.
- 5Keep the kimchi submerged in its own brine during fermentation to prevent mold and spoilage. A fermentation weight can be helpful.
- 6Your kimchi will become more sour and complex the longer it ferments in the refrigerator. It can be stored for several months.
Adapt it for your goals.
Vegan/Vegetarian
To make this kimchi vegan, replace the fish sauce with an equal amount of soy sauce or a vegan fish sauce alternative. Omit the saeujeot (salted shrimp) and add 1-2 tablespoons of miso paste or doenjang (fermented soybean paste) for a savory, umami depth.
Less SpicyLess Spicy
Reduce the amount of gochugaru by half (to 1/2 cup) for a milder kimchi. You can also use a milder variety of gochugaru if available.
Add Other VegetablesAdd Other Vegetables
Feel free to add other crunchy vegetables along with the radish and scallions. Thinly sliced carrots, chives, or even chunks of apple are common additions.
Why this is on our healthy list.
Probiotic Powerhouse
The fermentation process creates beneficial lactic acid bacteria (probiotics) that support a healthy gut microbiome, aiding digestion and improving overall gut health.
Boosts Immunity
Kimchi is rich in Vitamin C, garlic, ginger, and chili peppers, all of which are known to have powerful immune-boosting and anti-inflammatory properties.
Rich in Nutrients
Napa cabbage is a great source of vitamins A, C, and K, as well as essential minerals and antioxidants that help protect your cells from damage.
Supports Heart Health
The active compounds in kimchi, such as allicin from garlic, may help lower cholesterol and reduce inflammation, contributing to better cardiovascular health.
Frequently asked questions
Yes, kimchi is considered very healthy. It's a fermented food rich in probiotics, which are beneficial for gut health. It's also packed with vitamins A, C, and K, and is high in fiber and low in calories. The garlic, ginger, and chili also offer anti-inflammatory and immune-boosting benefits.