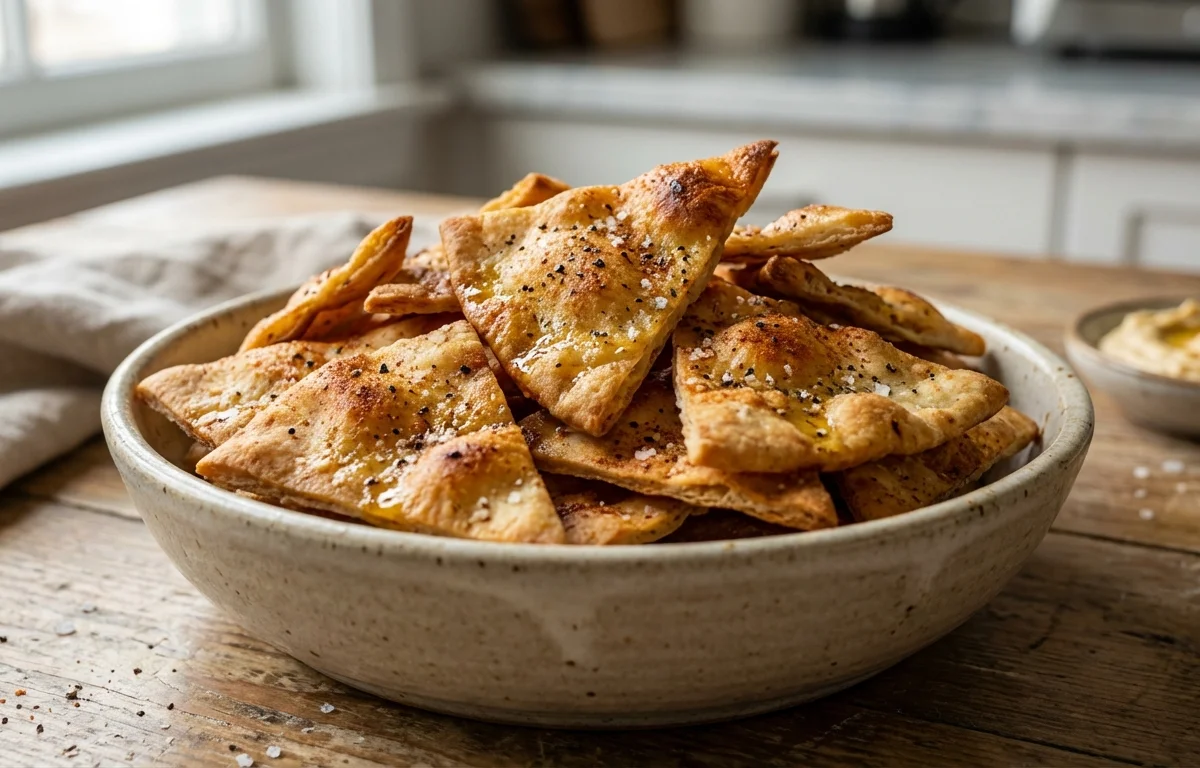
Baked Pita Chips
Crispy, golden-brown pita chips baked to perfection with a hint of olive oil and savory spices. A fantastic, healthier alternative to fried chips, perfect for dipping into hummus, baba ghanoush, or your favorite spreads.
For 4 servings
4 steps. 15 minutes total.
- 1
Step 1
- a.Preheat Oven and Prepare Pita
- b.Preheat your oven to 400°F (200°C). Line a large baking sheet with parchment paper for easy cleanup.
- c.Stack the pita rounds on a cutting board. Using a sharp knife or a pizza cutter, slice the stack into 8 equal wedges, as you would a pizza.
- 2
Step 2
- a.Season the Pita Wedges
- b.Place the pita wedges in a large mixing bowl.
- c.Drizzle the extra virgin olive oil over the wedges. Sprinkle with salt, black pepper, and smoked paprika.
- d.Use your hands to gently toss the wedges, ensuring each piece is lightly and evenly coated with oil and spices.
- 3
Step 3
- a.Bake the Chips
- b.Arrange the seasoned pita wedges in a single, even layer on the prepared baking sheet. Do not let them overlap, as this will cause them to steam rather than crisp. Use two baking sheets if necessary.
- c.Bake for 7-8 minutes. Remove from the oven, flip the chips over with tongs, and return to the oven.
- d.Bake for another 5-7 minutes, or until they are golden brown and firm to the touch. Keep a close eye on them during the last few minutes to prevent burning.
- 4
Step 4
- a.Cool and Serve
- b.Remove the baking sheet from the oven and let the pita chips cool directly on the pan for at least 5-10 minutes.
- c.They will become significantly crispier as they cool down.
- d.Serve warm or at room temperature with your favorite dips like hummus, tzatziki, or baba ghanoush.
What to keep in mind.
4 tips from the recipe — small details that make a real difference to the final dish.
- 1For maximum crispiness, use pita bread that is a day or two old. Stale pita has less moisture and bakes up crunchier.
- 2Ensure the pita wedges are in a single layer on the baking sheet. Overcrowding the pan will steam the chips and make them soft.
- 3Watch the chips carefully in the last few minutes of baking. They can go from perfectly golden to burnt very quickly.
- 4Store any leftover chips in an airtight container at room temperature. They should stay crispy for up to 5 days.
Adapt it for your goals.
Za'atar Spiced
Instead of paprika, toss the pita wedges with 1-2 tablespoons of za'atar spice blend for an authentic Middle Eastern flavor.
Garlic and HerbGarlic and Herb
Add 1/2 teaspoon of garlic powder and 1 teaspoon of dried oregano or Italian seasoning along with the other spices.
Spicy KickSpicy Kick
Add 1/4 teaspoon of cayenne pepper or red pepper flakes to the seasoning mix for a bit of heat.
Cheesy DelightCheesy Delight
Sprinkle a light layer of finely grated Parmesan cheese over the chips during the last 2-3 minutes of baking.
Why this is on our healthy list.
Healthier Snacking
By baking instead of frying, these chips significantly reduce the overall fat and calorie content compared to store-bought fried chips, making them a guilt-free snack.
Heart-Healthy Fats
Made with extra virgin olive oil, these chips provide monounsaturated fats, which are known to support cardiovascular health by helping to lower bad cholesterol levels.
Customizable Sodium
Making chips at home gives you complete control over the amount of salt, helping you manage your sodium intake for better blood pressure control.
Potential Fiber Source
Opting for whole wheat pita bread increases the dietary fiber in your snack, which aids in digestion, promotes satiety, and helps maintain stable blood sugar levels.
Frequently asked questions
One serving (approximately 1 cup or 1/4 of the recipe) contains about 260 calories. The exact number can vary based on the size and brand of your pita bread.