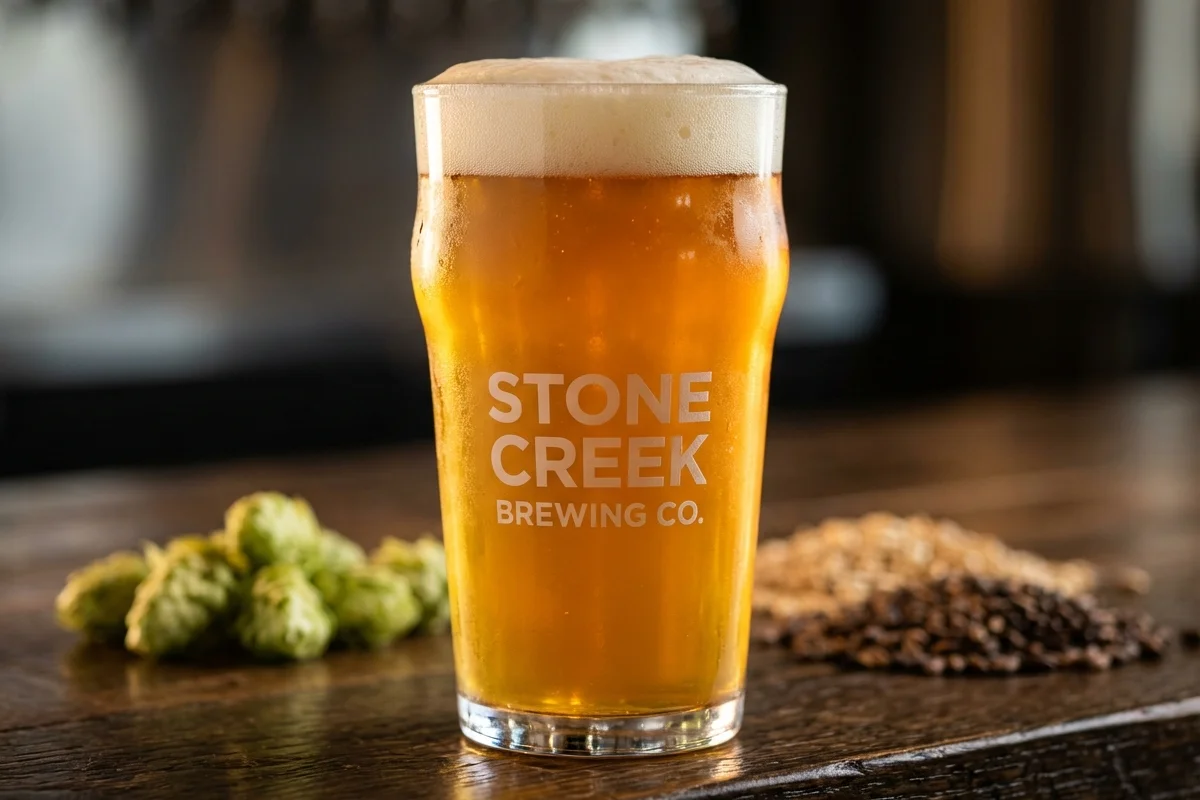
American Pale Ale
Brew your own classic American Pale Ale at home! This recipe balances a solid malt backbone with the bright, citrusy punch of Cascade hops, creating a crisp and refreshing craft beer that's perfect for any occasion. This 1-gallon recipe is ideal for beginner brewers.
For 10 servings
7 steps. 180 minutes total.
- 1
Step 1
- a.Sanitation is Key
- b.Before you begin, thoroughly clean and sanitize all equipment that will touch the beer after the boil. This includes your fermenter, lid, airlock, funnel, thermometer, and any transfer tubing. Use a no-rinse sanitizer for best results.
- 2
Step 2
- a.Mash the Grains
- b.In a large pot (at least 2 gallons), heat 2.75 liters of water to approximately 162°F (72°C). This is your 'strike water'.
- c.Place your crushed grains in a large steeping bag. Turn off the heat and slowly submerge the grain bag into the hot water, stirring gently to ensure there are no dry clumps.
- d.The temperature should stabilize between 148-154°F (64-68°C). Cover the pot, wrap it in towels to insulate, and let it mash for 60 minutes.
- 3
Step 3
- a.Sparge the Grains
- b.While the grains are mashing, heat the remaining 4.25 liters of water to 170°F (77°C) in a separate pot. This is your 'sparge water'.
- c.After 60 minutes, lift the grain bag out of the pot and let it drain for a minute. Do not squeeze the bag.
- d.Place the grain bag in a colander over your brew kettle. Slowly and gently pour the 170°F sparge water over the grains to rinse the remaining sugars. Collect this sweet liquid, called 'wort', in your kettle. You should have about 1.5 gallons of wort.
- 4
Step 4
- a.The Boil & Hop Additions
- b.Bring the wort to a rolling boil. Be careful, as it may foam up and boil over ('hot break').
- c.Once boiling, start a 60-minute timer. Immediately add 7g of Cascade hops. This is the bittering addition.
- d.With 15 minutes left in the boil, add another 7g of Cascade hops for flavor.
- e.With 5 minutes left, add the final 14g of Cascade hops for aroma.
- 5
Step 5
- a.Cool the Wort
- b.When the 60-minute boil is complete, turn off the heat. It's crucial to cool the wort to below 80°F (27°C) as quickly as possible to prevent contamination.
- c.The easiest method is an ice bath. Place the covered pot in a sink filled with ice and cold water. Gently stir the wort with a sanitized spoon to speed up cooling. This should take about 20-30 minutes.
- 6
Step 6
- a.Pitch Yeast & Ferment
- b.Once cooled, carefully pour or siphon the wort into your sanitized fermenter, leaving the thick sediment of hops and proteins (called 'trub') at the bottom of the kettle.
- c.Sprinkle the entire packet of American Ale Yeast onto the surface of the wort. Do not stir.
- d.Seal the fermenter and attach the airlock, filling it to the line with sanitizer or vodka.
- e.Place the fermenter in a cool, dark place, ideally between 65-70°F (18-21°C), for 1 to 2 weeks. You should see bubbling in the airlock within 48 hours.
- 7
Step 7
- a.Bottle & Condition
- b.After 1-2 weeks, when fermentation is complete (airlock activity has stopped for several days), it's time to bottle.
- c.Boil the 30g of corn sugar in about 1 cup of water for 5 minutes to create a simple syrup. Pour this sanitized syrup into your bottling bucket.
- d.Carefully siphon the beer from the fermenter into the bottling bucket, leaving the yeast sediment behind. The siphoning action will gently mix the beer with the priming sugar.
- e.Fill your sanitized bottles, leaving about one inch of headspace at the top. Cap each bottle securely.
- f.Store the bottles at room temperature for 2 weeks to carbonate. After that, refrigerate them for at least a few days before enjoying. Cheers!
What to keep in mind.
5 tips from the recipe — small details that make a real difference to the final dish.
- 1Sanitation is the most important rule in brewing. Anything that touches the beer after the boil must be sanitized to prevent infection.
- 2Temperature control during fermentation is key to a clean-tasting beer. Try to keep it in the 65-70°F (18-21°C) range.
- 3Use a hydrometer to take a gravity reading before pitching the yeast (Original Gravity) and before bottling (Final Gravity) to calculate your beer's ABV.
- 4Patience is a virtue. Let the beer condition in the bottles for the full two weeks for proper carbonation and flavor development.
- 5Avoid splashing the beer when transferring it after fermentation. Oxygen at this stage can lead to stale, cardboard-like flavors.
Adapt it for your goals.
Hop Substitution
For a different citrus or piney character, substitute Cascade with other American hops like Centennial, Citra, or Simcoe.
Dry HoppingDry Hopping
For an extra burst of hop aroma, add an additional 14g of Cascade hops directly to the fermenter 3-4 days before you plan to bottle. This is called 'dry hopping'.
Malt VariationMalt Variation
For a slightly toastier or nuttier backbone, replace half of the Crystal 40L with an equal amount of Victory or Biscuit malt.
Why this is on our healthy list.
Source of B Vitamins
Brewer's yeast is a rich source of B vitamins, including niacin, riboflavin, and B6, which are important for energy metabolism. Some of these beneficial compounds remain in the finished, unfiltered beer.
Contains Natural Antioxidants
Hops and malted barley contain polyphenols, which are natural antioxidants. These compounds can help protect the body's cells from damage. The benefits are most pronounced when consumed in moderation.
Frequently asked questions
A 12 oz serving of this homebrewed American Pale Ale will have approximately 150-180 calories, depending on the final alcohol content.